What does the whole repair look like?
In the kit
- 2 foam cartridges and mixing tubes
- 2 jars of 2-part epoxy paste
- 15 ports and caps, hose with shut-off valve
- Trowel, wire brush, mixing sticks, drop cloth
- Gloves and safety glasses
You add
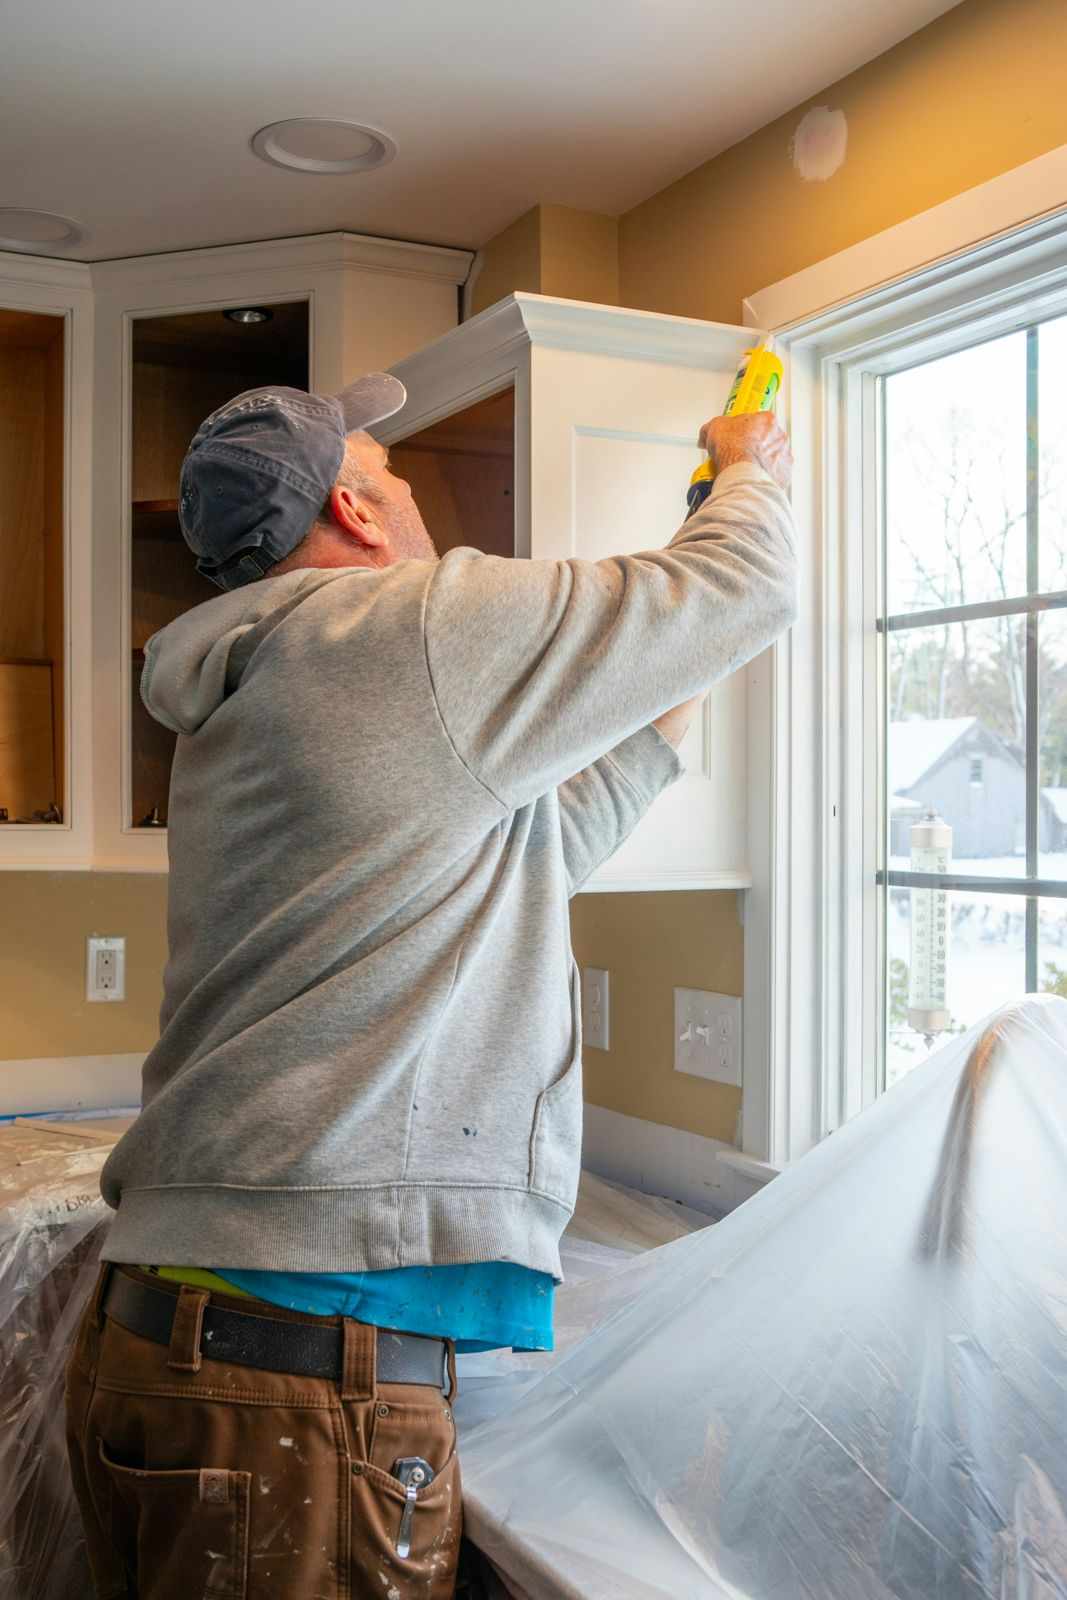
- A standard caulk gun
- A pencil and a tape measure
- A shop vac or rags
- A garden hose for the test
Step 1: Confirm it is a DIY crack
This kit seals leaks. It does not add strength, so the first job is making sure strength is not what your wall needs.
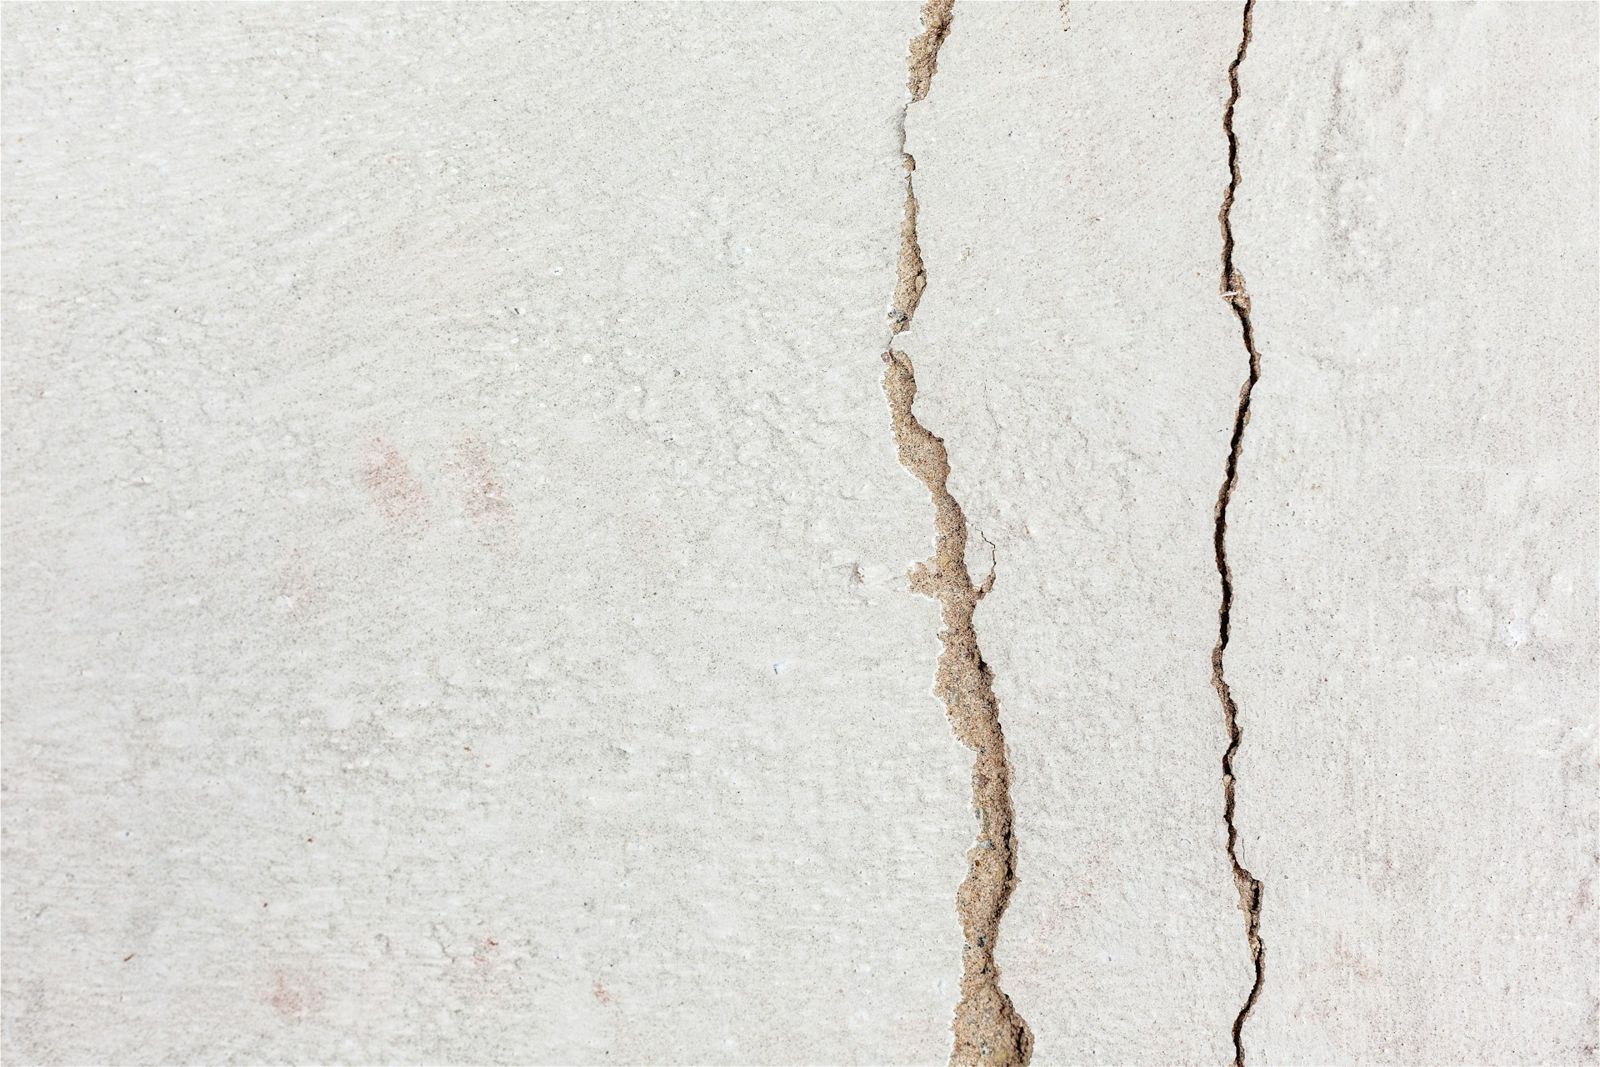
You are good to go if the wall is poured concrete, the crack runs vertically or diagonally, it is no wider than 3/8" at its widest point, and both sides of the crack sit flush with each other.
Stop and call a structural engineer if the crack is horizontal, follows the mortar joints of a block wall in a stair-step pattern, is wider than 3/8", or if one side sticks out past the other or the wall bows inward. Our page on structural warning signs explains each one.
Step 2: Clean and dry the crack
The epoxy paste is what holds the ports on and keeps the foam inside the crack, so it needs a clean, dry surface to grip. The manufacturer says the paste is not recommended for wet surfaces.
Use the wire brush from the kit to scrub loose concrete, old caulk, paint, dust and efflorescence off the crack and a few inches on either side. Vacuum or wipe away the dust.
If the crack is actively running with water, wait for a dry spell before you paste. Fix any gutter or downspout dumping water on that wall first.
Step 3: Mark where the ports go
Lay out the 15 surface ports along the crack before you mix anything. Space them as the kit instructions say, and put the first one near the bottom of the crack, where leaks usually start.
Mark each spot with a pencil. Put a port at the very top of the crack too, so you can see when the foam reaches the end.
If you have more crack than ports, fix the worst-leaking section first and order the consumables kit for the rest.
Step 4: Set the ports and seal the crack
Mix one batch of the 2-part epoxy paste on the drop cloth. You have about 6 to 7 minutes of working time, so mix small batches.
Dab paste on the base of each port and press it over its mark, keeping the port opening clear. Then trowel paste over the whole length of the crack between the ports, wide enough to cover the crack completely.
Work from the bottom up and check that no part of the crack is left uncovered. Any gap is a place for the foam to escape.
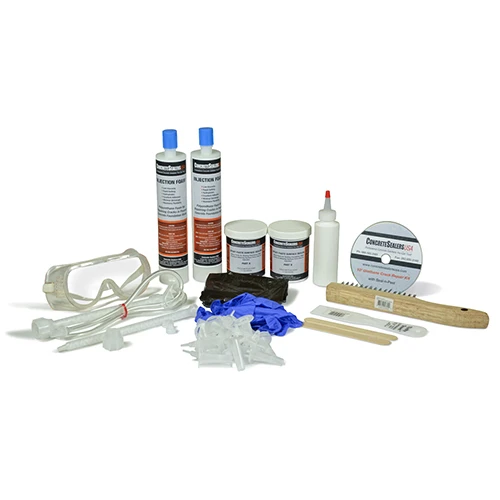
Everything for steps 2 to 6 in one box
Foam, epoxy paste, 15 ports, brush, trowel, gloves and glasses. $204.95 for about 10 ft.
Step 5: Wait 2 to 3 hours
The paste needs time to set before it can hold back injection pressure. The manufacturer says you can inject within 2 to 3 hours.
Use the wait to get ready: load your caulk gun, attach the mixing tube to the first foam cartridge, and put on the gloves and safety glasses from the kit.
Read the safety data sheet that ships with the kit. Avoid skin and eye contact with the foam and the paste.
Step 6: Inject from the bottom up
Connect the hose to the lowest port and squeeze slowly and steadily. The foam is thin when it goes in, then reacts with water in the crack and expands up to 20 times its size.
Keep injecting until foam starts to show at the next port up. Then cap or close the port you are on, move the hose up one port, and repeat until you reach the top.
The lowest port usually takes the most foam, because there are often voids behind the wall near the footing. Do not be surprised if the upper ports need much less.
Step 7: Test it, then watch the next storm
Once the foam has cured for the time the kit instructions give, run a hose against the outside of the wall near the crack and watch the inside face for any water.
The real test is the next heavy rain or snowmelt. Check the wall during and after it.
When you are happy it is dry, you can knock the ports off and remove the paste with a chisel, sander or grinder, or leave it if the wall will be covered.
What mistakes make it leak again?
- Pasting over a wet or dusty crack, so the seal fails and the foam leaks out the face
- Injecting before the paste has set
- Stopping before foam shows at the next port
- Ignoring gutters and grading that dump water against that wall